Sunday, July 22, 2012

M.P. dress takes shape (part 2)

Since my last post, the mom prom (MP) has started to take shape. After our first fitting Heather and I ditched the draped bodice opting instead for a simpler bodice.
I then began to cut out the skirt and bodice. The two iconic Worth dresses that formed some of the inspiration for what I was going to make reminded me of something very important: making sure the pattern matched.
Worth flocked taffeta dress
Worth evening gown
Worth was a master of creating beautiful lines, that were pleasing to look at and flattered the wearer. He also had the advantage that the fabrics for his dresses were specifically made with the dress design in mind.
The flocked taffeta I was working with not only had a pattern, the pattern had a repeat. It was very important to make sure that the pieces matched or it would be ugly.
I started working on the skirt because it was "easier". It took some time but I was able to cut and then sew the skirt so that the pattern matched very well. The skirt could have had a train but it was left off so that is would be easy to dance in. The skirt was cut as a walking length skirt with the bottom edge faced in a black satin.

Back of the skirt with pleats
Next step was to work on the bodice. I started by cutting out the lining, applying bone casings and then flat-lining the fashion fabric to the back piece. Every time I cut a piece I would line it up and sew it before cutting the next to be sure that it all matched. The result was worth the effort.

back of the bodice with fabric carefully matched
Bodice front (inside part facing), quilted for strength.
I then cut and worked on quilting the two front pieces as I had learned in the couture bodice class I took at Tutu.com's school. Normally this is done on the back pieces of a (high end) ballet bodice where the hooks and bars go because these pieces have a lot of stress on them. This bodice does up the front instead of the back, so I felt it was important to  treat these pieces this was.  Tomorrow I will continue to work on the front of the bodice and hopefully finish it. I made the sleeves out of a plain black satin and laid out how I want to cut the front of the bodice. Again I am going to apply a technique I learned during Travis Halsey's class, called decorative fold backs (these techniques are detailed on a new DVD by Mr Halsey, available through Tutu.com)
One other thing I worked on was the little top hat. I began by making a wire and buckram hat shape.
wired buckram shape for hat

I then covered the crown and brim with black cotton flannel to create a smooth shape. I used some Fabritac glue to attach the flannel to the hat shape. Once it has dried I will cover the hat shape with black satin and add decorations in peacock feather colors (purple, dark green) and sew the brim and crown together.
More in my next post.


Friday, July 20, 2012

The "mom prom" dress

It is finally time to start on my friend Heather's "mom prom dress". Heather is our local MOPS (Mother's of Preschoolers) representative and she is going to their conference soon. New this year at the conference is the so-called "mom prom" with featured artist Plumb.

Since Heather helped me set up my blogs and has generally been a wonderful friend I want to make sure she goes in appropriate style.Together we came up with  a Worth inspired bodice and dress with a few "steam-punk" twits, including a miniature top hat and time permitting lace gloves.

I found a gorgeous black flocked taffeta,
black flocked taffeta
dug through my stash of fabrics for velvets, taffetas
deep plum taffeta
and laces to combine for the bodice.  I am going to use two patterns from Laughing moon Mercantile with some modifications: their five gored skirt and matching bodice pattern.


Today I did a first fitting and will begin constructing the skirt and bodice soon. We decided to make the sleeves out of a plain black satin, rather than the flocked taffeta and I am going to use some of the techniques I learned at  Tutu.om's tutu school to modify the front of the bodice. It will have some of the plum colored taffeta, some black velvet piping and a dark green flocked taffeta to create longer lines. The skirt will be made of the black flocked taffeta with a satin facing at the hem.
To finish off the ensemble, Heather will have a little top hat with peacock feathers and peacock colored accents (these colors and fabrics are mirrored in the bodice).
I need to get on to that now and will post photographs soon.

Sunday, July 15, 2012

Tutu school = too terrific!

This year, thanks to my wonderful parents who gave me the classes and my family who took me there, I attended Tutu.com tutu school in Charlotte North Carolina.

It was an interesting educational experience, which despite being 5 days of grueling hard work was fun?! I am still trying to process the years of experience that is crammed into you in a very short time.
A good friend of my husband's, who had studied at both MIT and Stanford, was once asked "how much fun was that"? He answered, "well, if you think taking a sip from a fire hose is "fun" than yes it was". Tutu school is like taking a sip from a fire hose.
packed and ready to go 

Packing for tutu school
The first thing that needed to be done was pack up my sewing machines and other sewing paraphinelia into something that would fit into the back of our car. We managed to pack everything and set off before 8 a.m. for the long drive down to Charlotte.
The journey went very well and we arrived at 8p.m. at out hotel.
The next morning at 8 a.m.,  tutu school started in the hotel's conference room. My project was to make a Spanish skirt, while the other women were making mostly classical tutus, a few Romantic tutus, one ribbon candy tutu and two contemporary tutus.

I had previously taught myself how to make basques using the method described in Claudia Folts' book The Classical tutu, so I was told to sit in with the groups taught by Travis Halsey. He uses  a mathematical method to draft a basque and the resulting basque has hip seams as well as a back seam.
After cutting everything out, sewing and serging the skirt and ruffles, I needed to sew many yards of lace to the ruffle edges and then ruffle the layers. Next, the ruffled layers were sewn to the skirt.

Finally, the basque was attached to the top of the skirt and hook and closure were sewn to the edges.
The skirt turned out well for a first attempt and was finished in the two days set for it, working from 8-6 each day.
Sewing the third ruffled layer to the skirt
On the Tuesday I made a tutu bag for carrying tutus. I had wanted to spend some time studying the tutus that were in the room and photographing one or two but ended up not having time.
The tutu carry bag I made.

The last two days of tutu school were spent learning couture bodice techniques from Travis Halsey. I had brought some lace and trim  from home, some lovely fabric was in my kit and the school provided huge bags of fabric pieces to work with. One of the hardest part I felt was deciding what would look good together as there was so much to choose from. I found a small piece of gold duponi, some gold flowered brocade, a black mesh with red sparkly flowers and a black and red ribboned fabric.
bodice front
My assembly of the parts of my pattern was much simpler than some of the other students because I felt the bodice design did not need to be over embellished. The variety of couture techniques that I learned made the bodice easier to assemble while at the same time resulting in a superior result.
Beginnings of a lace applique for the front of the bodice
In the two days of the class, I finished the front and back, inserted the nude inset and piped the top edges. Since returning home I have piped the remaining edges and made an applique for the front. I also fit the bodice on E13 and will complete the bodice this week.
I would still like to add embellishments to the applique, make a matching headpiece and possibly add sleeves. I will post photographs once the project is completed.
We drove home, making the trip in one day which was good since we were all very tired.
I believe I would attend tutu school or some other intensive sewing course again if I had the opportunity since the wealth of knowledge that can be aquired in a very short time is vast.  The whole experience was intense and challenging and probably not something everyone would enjoy or could deal with. Going into the classes with the right attitude and expectations greatly helps.
To find out more about the training offered go to Tutu.com's seminars

Here are the Spanish skirt and bodice that I made at Tutu school:

Spanish skirt and couture bodice made at Tutu.com school

Thursday, June 28, 2012

Cinderella on stage

Here are a few photo's and video clips of how Ithaca Ballet's Cinderella appeared on stage at the dress rehearsal.


Cinderella dress rehearsal
Cinderella Fairy Godmother attendants


 Cinderella, Fairy Spring, Fairy Summer, Fairy Godmother, Fairy Autumn, Fairy Winter and Fairy attendants
Cinderella dress rehearsal, Fairy Autumn
 Cinderella, dress rehearsal, Fairy Winter


Cinderella dress rehearsal Fairy Spring


 Cinderella Fairy Summer
Video clips from Cinderella:


Tuesday, June 26, 2012

Sleeping beauty on stage

Here are some photos and short video clips from Sleeping beauty on stage:

Sleeping Beauty Act 1 Waltz:

The Rose adagio:
Beth Mochizuki as Aurora, Johann Studier as a suitor
(photo by Johann Studier)
Beth Mochizuki, Sleeping Beauty Act 1
(photo by Johann Studier)


Beth Mochizuki as Aurora, Johann Studier as one of the four suitors
(photo by Johann Studier) 


Aurora's friends dance at her 16th birthday party:


Courtier Dance Act 3, Sleeping Beauty
Promenade Act 3:

Precious stones:


Blue Bird and Princess Florine Pas de deux:
video clip


Curtain call:
Ithaca Ballet Sleeping beauty
(photo and all tutus by Hilary Sharp)


Monday, June 25, 2012

Giselle on stage

Giselle: Brent Whitney as Albrecht,  Nadia Drake as Myrtha
(photo credit Johann Studier) 
Here are photos (taken by Johann Studier) of Giselle on stage:
The role of Giselle was beautifully performed by Beth Mochizuki, curently a dancer with State Street Ballet in Santa Barbara California. Beth was a graceful Giselle and her mad scene was very well done. Her pointe work (which is very challenging in this role) was feather light yet strong.
Brent Whitney was exciting and masterful as Albrecht, Giselle's suitor. He filled the stage with his presence and his jumps were effortless.  Beth and Brent worked very well together and gave a top notch performance
Beth Mochizuki as Giselle, Brent Whitney as Albrecht
(photo credit Johann Studier) 
Nadia Drake, long time principle of the Ithaca Ballet, was exceptional in her role as Myrtha.  Nadia has wonderful stage presence in all her roles but seemed especially strong in this one. She was forceful and imposing as the Queen of the dead maidens, and woe to any man who came across her path! At the same time, when she was dancing her initial solo as Myrtha, it was possible to see who the woman she (Myrtha) might have been before she was jilted and died herself: soft, vulnerable and in love. Nadia's performance was memorable and very striking.
Giselle: Nadia Drake as Myrtha
(photo credit Johann Studier)

Ithaca Ballet Giselle: The Wilis, with "Furies" on left and right
(photo credit Johann Studier) 
The Wilis were performed by the Ithaca ballet's corp de ballet.  A good corps de ballet moves together uniformly, with arms, legs and heads moving as one. The dancers gave a very cohesive performance. It really was a shame that the performance was so poorly attended because to see something of this level and quality one would have had to travel to a much larger town.
Ithaca Ballet Giselle: Myrtha and her Wilis
(photo credit Johann Studier) 

How it all started: Giselle

How it all started: Giselle
People have asked me how I got started with costuming. Like most mother's my first tutus were made for E13 who started ballet at 5. As she moved up and began performing more, I volunteered back-stage and before I knew it I was making more and more elaborate items.
The first real ballet I ever was fully involved in was Giselle. Talk about jumping in the deep end with boots and all!
Giselle is the ballet's equivalent to Hamlet, the great Romantic ballet. It is also one of the so-called "white" ballets, because the dancers are for a large part dressed in ghostly white costumes.
Beth Mochizuki as Giselle, with Johann Studier as Hillarion
As with many ballet's of this era and genre, Giselle is the story of a beautiful, innocent peasant girl who lives near a forest. One day a young noble man (or prince) called Albrecht is out hunting with his buddies and meets Giselle. They fall in love, although it is not totally clear how honorable Albrecht's intentions are.
Giselle peasant suitor Hillarion, sees them, and fights with Albrecht but is sent away.
After Giselle and Albrecht have vowed their undying love for each other, Albrecht's fiance Bathilde, her father and the rest of the court come on the scene. Giselle realizes she has been duped, goes mad and either dances herself to death or commits suicide (this is a little murky).
The second act of the ballet takes place in the grave yard in the woods. Local legend says that girls who die before their wedding (or die by suicide) roam the earth at night, searching for men to take revenge on. Their queen, Myrtha, rules her maiden's called Willis and sends them after unsuspecting men who are foolish enough to go into the forest at night. Myrtha is also supposed to be a women duped by her lover and either a suicide, or someone who died of a broken heart (the Romantics truly beileve that people could die from their emotions).
Giselle's peasant suitor Hillarion makes the mistake of visiting her grave after the sun has gone down. Hillarion is discovered by Myrhta and her Willis and is made to dance till he dies. Albrecht too goes to visit Giselle's grave and would have met the same fate where it not for Giselle protecting him. He survives and at the breaking of the dawn, Giselle goes back into her grave never to be seen again.
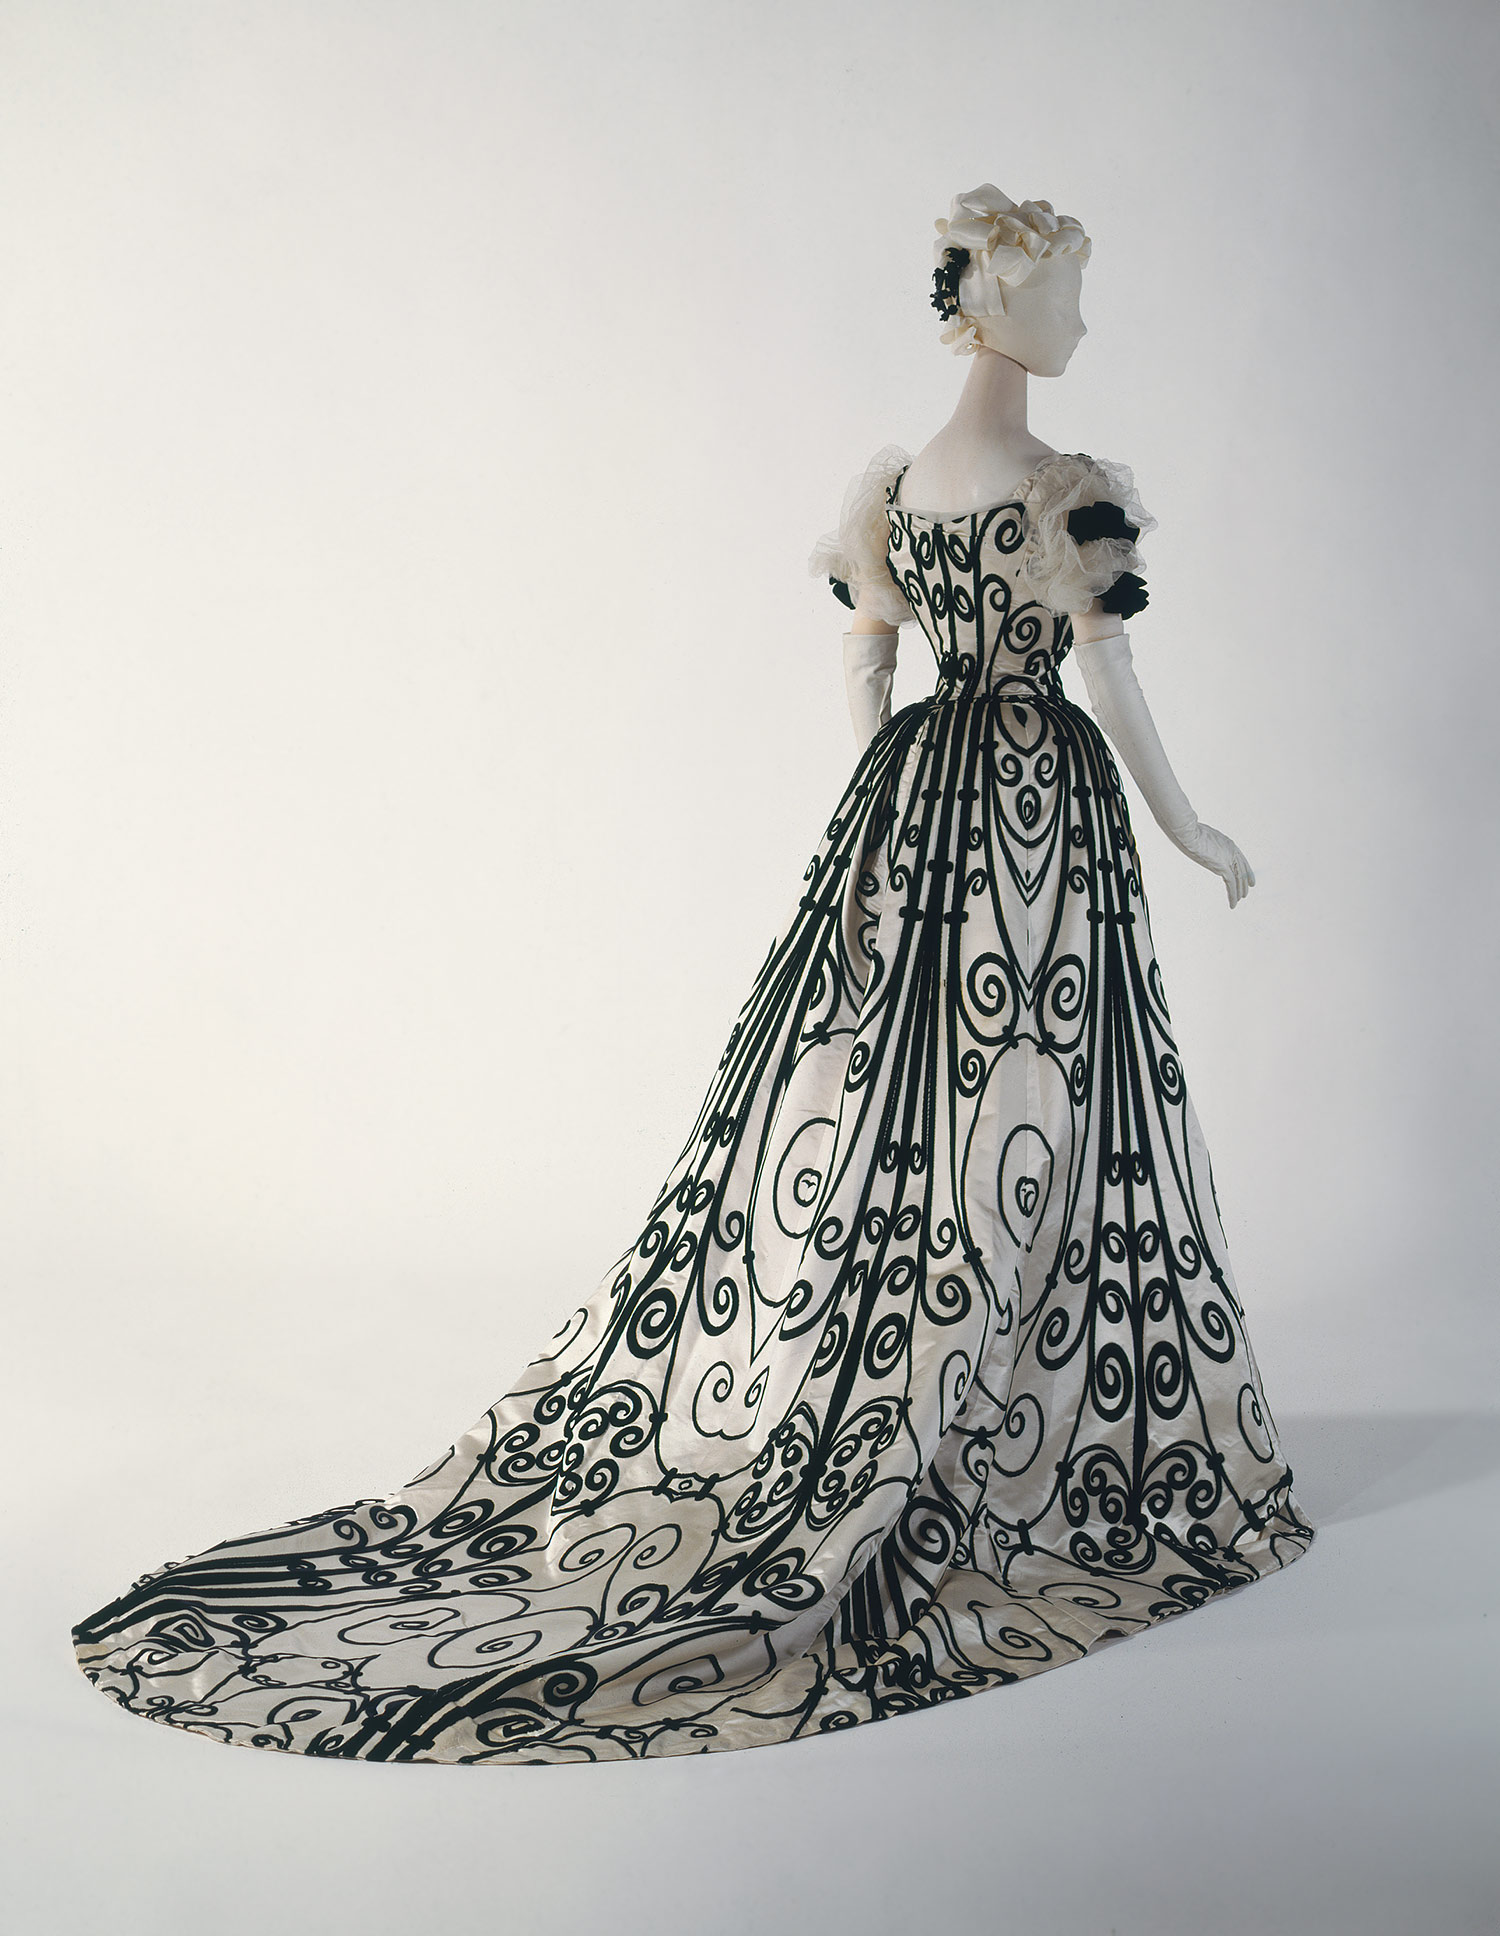
For this ballet Scott Dolphin and I were responsible for the design and creation of all the "white" Romantic tutus: Giselle, Myrtha (the Queen of the Willis or dead girls) and the Willis.
Scott Dolphin (www.scottdolphinstudio.com) made lovely designs for the costumes using flesh colored powernet covered in white sparkle organza. He simulated vines on the bodices by sandwiching iron-on interfacing between the organza and powernet. The tutu's were three layers of smocking pleated bridal tulle in white, glimmer white and toast, sewn to a quilted basque of powernet and organza.
Cutting layers of white bridal illusion for top layers

Cutting six yards of toast colored tulle for middle layers
The middle, toast colored layer was six yards fabric, railroad cut (i.e. cut as one long piece). The other layers were cut as three or four pieces which were then sewn together.
Working with tulle is hard: it is slippery, gets statically charged easily and you cannot pin it or draw on it to cut it straight. To be able to smocking pleat it, it has to be rolled onto a special dowel and then fed into the pleater, which is cranked by hand. Scott can up with some very clever ways of dealing with these issues. He devised a method of taping the tulle onto a table using painters tape and later rolling the tulle around a metal layer so that it could be cut straight and dagged if necessary.
After the tulle was rolled, the rolls were taped again and then could be pleated.
Cut and hemmed layers of tulle ready for pleating

Rolling tulle in preparation for pleating
Rolled tulle, basques and beginnings of Romantic tutus
 I owned a smocking pleater and was going to be sewing up the tutus.  Carrie Lampman, a then high school student, wanted to learn how to make tutus so she volunteered to be my assistant. Carrie is extremely talented and learned the whole process very quickly. For this project I had two other volunteers who came and helped as well.
I measured up the dancers, then drew sixteen basque pattern and cut them out. Carrie, Lydia, Shushang and I sewed and quilted the basques.

Quilted flesh colored Powernet and white organza basques
Smocking pleated light gold tulle layer pinned to basque
Later the four of us took turn pleating, steaming and then sewing the tutus together. Shushang had never used a sewing machine before but she did great. The final assembly, was done by Carrie and myself. Scott created all the bodices and Myrtha's headpiece. I made also created two hats: one for Bathilde (Albrecht's fiance) and one for a lady in her retinue.
My assistant Carrie Lampman sewing a Giselle tutu
completed Willy tutu
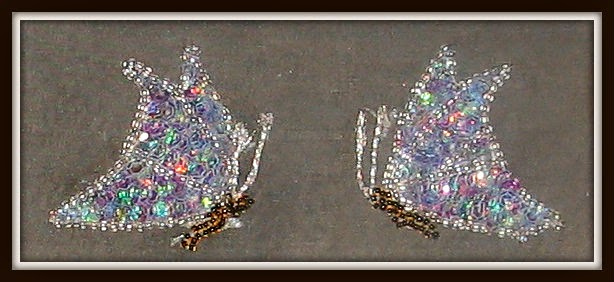
Bathilde's headpiece was to simulate the elaborate hair taping that was common in the Italian Renaissance. I used bias cut strips of velvet in colors to match Bathilde's dress (hunter green, golden mustard yellow and burgundy red), which I braided into a 3/4 circlet. The back of the headpiece was a gold, jeweled snood. I embroidered the head piece with flower-shaped sequins and pearls.
The court ladies' hat was a flat-cap shaped black velvet hat with white ostrich plumes held onto the hat with an embellished pieces of hand crochet lace.
Unfortunately, I do not have any photographs of these two headpieces.
The show itself was extremely well but sadly it was not well attended making it unlikely that the ballet will stage it again. Photos of Giselle on stage will be in another post