Since my last post, the mom prom (MP) has started to take shape.
After our first fitting Heather and I ditched the draped bodice opting
instead for a simpler bodice.
I then began to cut out the skirt
and bodice. The two iconic Worth dresses that formed some of the
inspiration for what I was going to make reminded me of something very important: making sure the pattern matched.
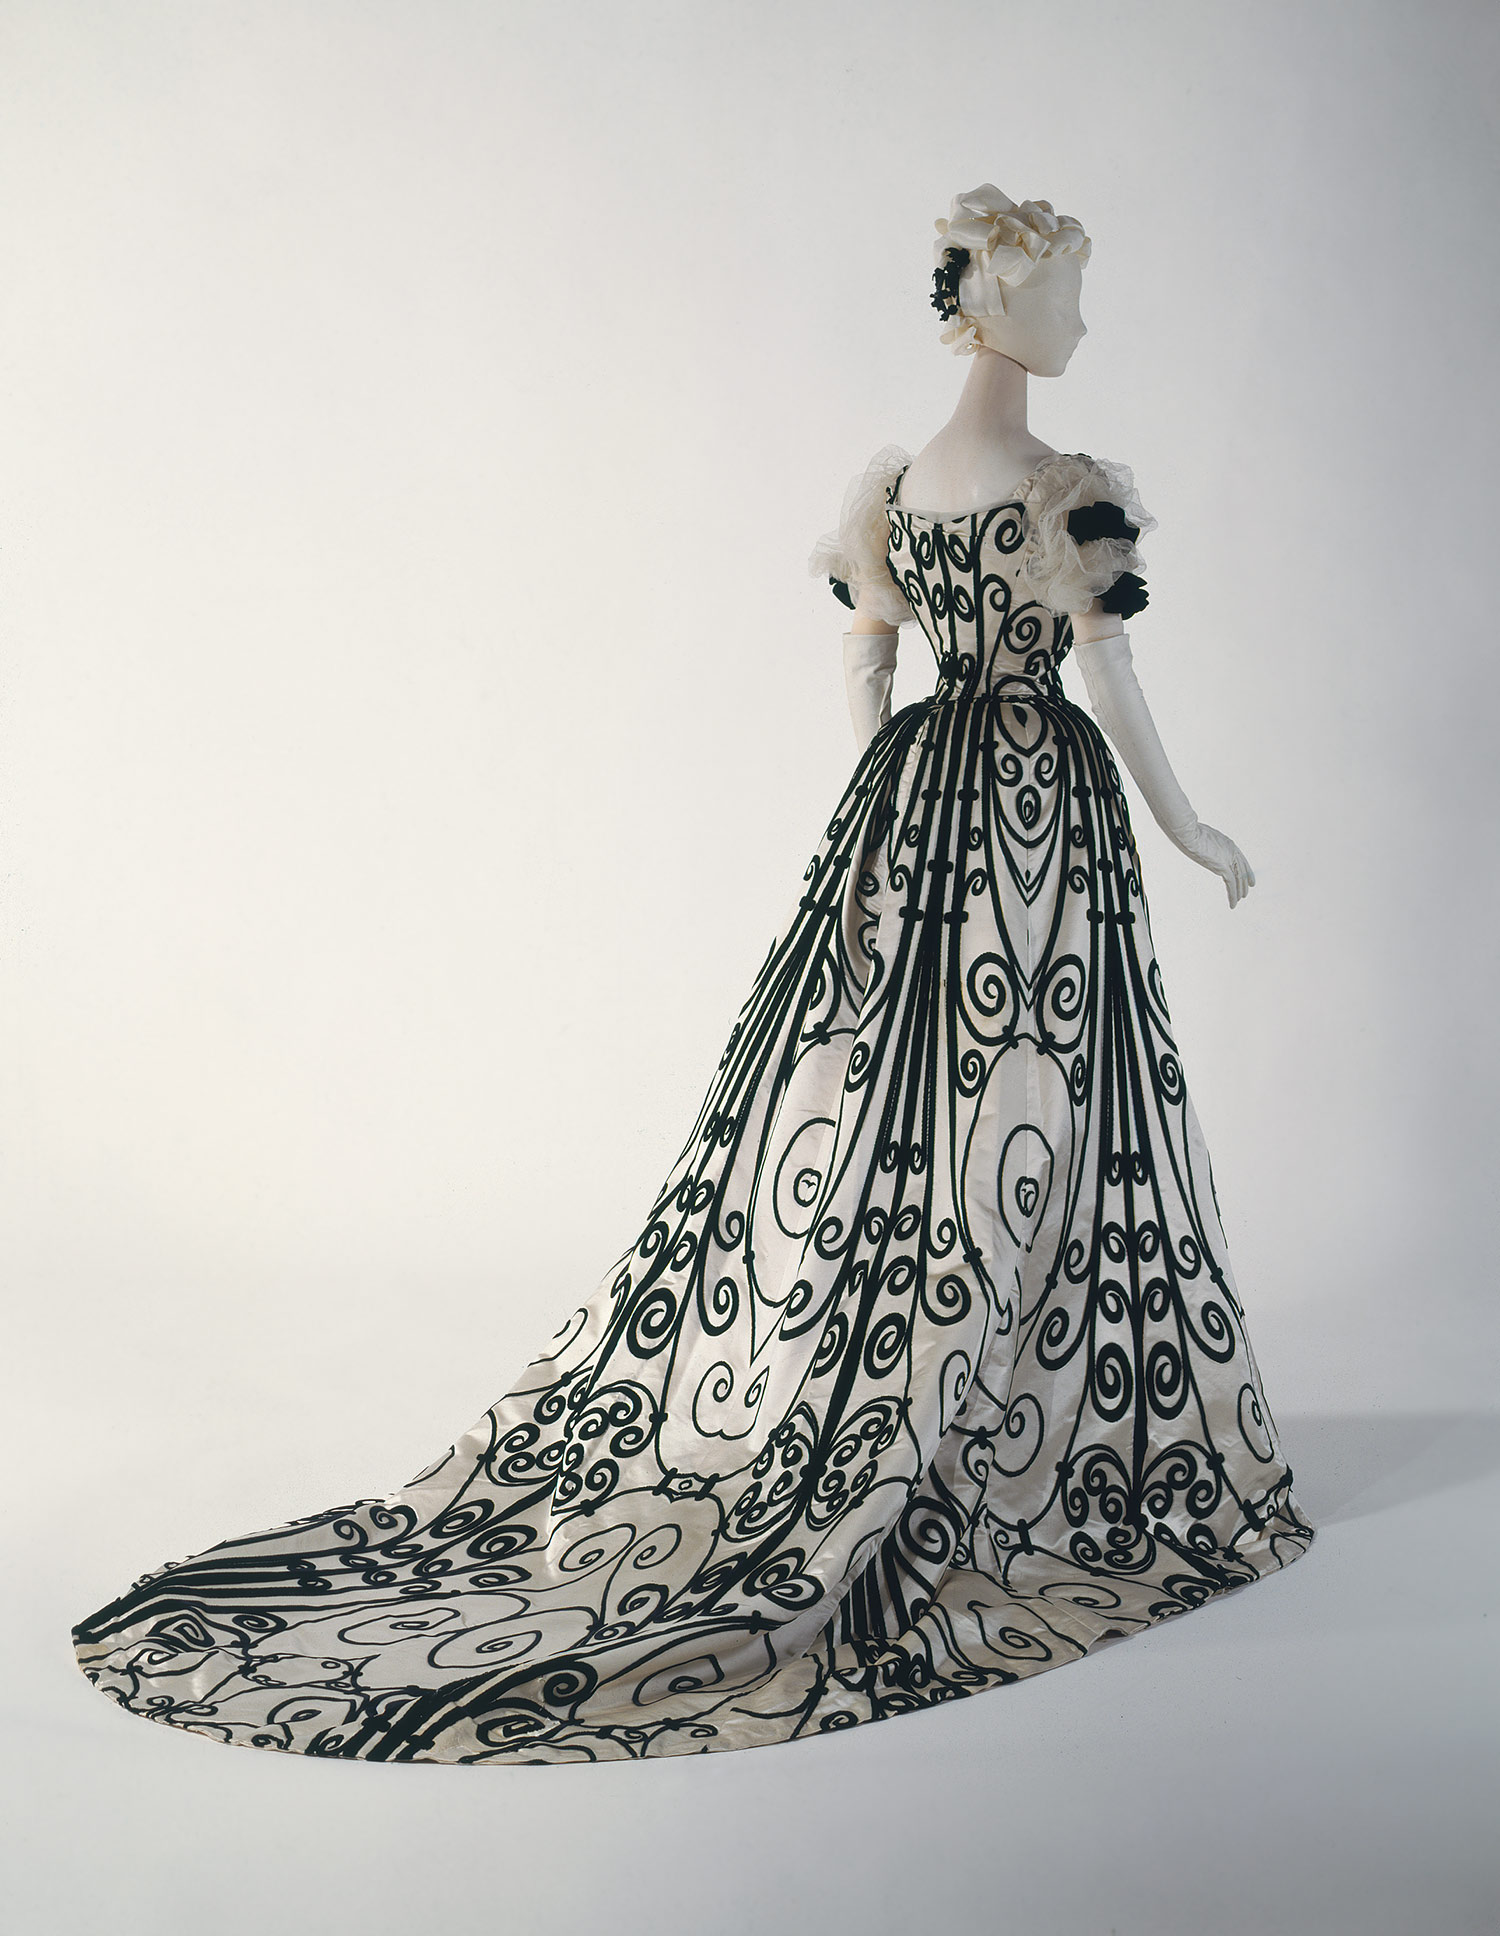 |
| Worth flocked taffeta dress |
 |
| Worth evening gown |
Worth was a master of creating beautiful
lines, that were pleasing to look at and flattered the wearer. He also
had the advantage that the fabrics for his dresses were specifically
made with the dress design in mind.
The flocked taffeta I was working with not only had a pattern, the pattern had a repeat. It was very important to make sure that the pieces matched or it would be ugly.
I started working on the skirt because it was "easier". It took some time but I was able to cut and then sew the skirt so that the pattern matched very well. The skirt could have had a train but it was left off so that is would be easy to dance in. The skirt was cut as a walking length skirt with the bottom edge faced in a black satin.
 |
| Back of the skirt with pleats |
Next step was to work on the bodice. I started by cutting out the lining, applying bone casings and then flat-lining the fashion fabric to the back piece. Every time I cut a piece I would line it up and sew it before cutting the next to be sure that it all matched. The result was worth the effort.
 |
| back of the bodice with fabric carefully matched |
 |
| Bodice front (inside part facing), quilted for strength. |
I then cut and worked on quilting the two front pieces as I had learned in the couture bodice class I took at Tutu.com's school. Normally this is done on the back pieces of a (high end) ballet bodice where the hooks and bars go because these pieces have a lot of stress on them. This bodice does up the front instead of the back, so I felt it was important to treat these pieces this was. Tomorrow I will continue to work on the front of the bodice and hopefully finish it. I made the sleeves out of a plain black satin and laid out how I want to cut the front of the bodice. Again I am going to apply a technique I learned during Travis Halsey's class, called decorative fold backs (these techniques are detailed on a new DVD by Mr Halsey, available through Tutu.com)
One other thing I worked on was the little top hat. I began by making a wire and buckram hat shape.
 |
| wired buckram shape for hat |
I then covered the crown and brim with black cotton flannel to create a smooth shape. I used some Fabritac glue to attach the flannel to the hat shape. Once it has dried I will cover the hat shape with black satin and add decorations in peacock feather colors (purple, dark green) and sew the brim and crown together.
More in my next post.


No comments:
Post a Comment